Friday, February 7, 2014

Pineapple? Why, How Tropical Of You!

Pineapple Upside Down Cake


Yield:  6 servings
Time:  1 hour 7 minutes

1/4 cup (1/2 stick) melted butter
2/3 cup firmly packed brown sugar (light or dark)
1 20 oz can pineapple slices
Maraschino cherries
2 large eggs, separated into whites and yolks
3/4 cup sugar
1/4 cup pineapple juice, reserved from can
3/4 cup flour
1/8 tsp salt
1/2 tsp baking powder


Preheat oven to 325°.  Grease 8 inch round cake pan.  Pour melted butter into bottom of pan.  Sprinkle brown sugar over butter evenly.  Arrange pineapple slices (should be 7) over brown sugar.  Put a cherry in the center of each pineapple slice.
Using a hand mixer, beat egg yolks until thickened, about 2 minutes.  Beat in sugar.  Beat in reserved juice.  Slowly incorporate flour, salt, & baking powder.  Beat egg whites on high speed until medium-firm peaks form.  Fold into cake batter.  Spread over pineapple & cherries.  Bake 45-52 minutes.  Let cool half an hour before turning out onto plate.  Fight over center cherry.


More Info

Pineapple Upside Down Cake

This recipe is pretty close to the original.  The major difference here?  Greasing the cake pan.  If you watch the video on my YouTube Channel, you'll understand why I have you do this; the sides of the cake stuck to the pan.  It nearly came completely apart on me.  If you are having any difficulty removing the cake from the pan (despite greasing it), use a butter/table knife and run it around the sides, between the cake and the pan.  It'll help loosen it up and release.
This recipe was basically a request from my mother.  She was apparently craving a pineapple upside down cake, and all we had to buy was the pineapple and cherries.  We had everything else.  Also, this recipe came out better than expected.  We totally loved it.
Something to note; the top of the cake, when it comes out of the oven, is going to be a little crusty.  It's fine, trust me.  In fact, it's quite delicious.

Overall Meal


So this isn't really a meal...it's just a dessert.  But a delicious dessert!  One I'm actually going to be making again in just a couple of days (we're low on butter and I have to wait to get more).  Anyway, try this out!  It's totally and completely awesome; I promise you, you're going to love it!

UPDATED 02/13/14:

  • Added links under recipe titles to credited source

Questions?  Leave a comment!

Cola what now?

Cola Brisket


Yield:  4 servings
Time:  12 hours, 2~ hours

1 batch "BBQ" Spice Blend
3-5 lb beef brisket (flat or point cut), lightly trimmed of excess fat

Cola Mixture
1 cup Diet Coke
1/2 cup coffee
1 cup ketchup
1 pkg Onion soup mix

Rub brisket with spice blend & refrigerate, covered, 12 hours or overnight.
Preheat oven to 325°.  In glass baking dish, pour cola mixture over brisket.  Cover with aluminum foil & cook in oven for 30 minutes per pound, removing foil for last 20 minutes of cooking.


More Info

Cola Brisket

Okay, so this was real easy to cook.  Rub down the brisket, pop it into the fridge until the next day (or if you get up at 5 in the morning to get ready for work, take care of it then.  You can stick it in the oven at 5 in the evening, and dinner will be ready about 7 or so).  Pour the cola mixture over, pop it in the oven, forget about it for a while, take the foil off, wait 20 minutes and BAM...done.  ...And delicious~.
Now for information about the original recipe.  The original recipe called for a 12 ounce can of coke.  Well, we don't keep cans, we keep 2 liters.  And we don't have regular coke, just Diet Coke, Coke Zero, Wild Cherry Pepsi, Mountain Dew, and Mountain Dew Code Red (the drinks with the real sugar are my brother's).  So I used some of my Diet Coke for this.  But I only wanted to use 1 cup (which is 8 ounces).  And we had some coffee left in the pot from that morning, so I thought...why not??  And 1/2 cup of coffee went in (which is 4 ounces, giving me my 12 ounces of liquid).
Another difference (and this is kinda slight) is that the original recipe calls for chili sauce (which you can find in the Asian section of your grocery store...typically, anyway).  However, it does say in the original recipe that you can substitute ketchup.  Since I had it on hand, that's what I did.  And like I said before, it came out delicious.
Oh, and of course, you don't have to use a glass baking dish...just anything that has sides and will contain the liquid.

Overall Meal


So what is a great compliment to a brisket?  My Easy Rolls .  And peas.  Now, you can probably tell from that picture that those are canned peas.  ...Honestly, I'm okay with canned peas, but I really do prefer frozen peas.  However, my brother won't eat much in the way of vegetables, and is so picky about his peas that he won't eat frozen peas, only canned.  So I do what I can with them; cook them in the juices from the can until hot, then drain and toss them with some butter and a few dashes of salt until the butter is melted.  Anyway, I hope ya'll try out this recipe!  It's simple and deliciously fantastic.  Check out my YouTube Channel to see the demonstration of this recipe, and of other recipes as well!  Feel free to subscribe, too!

UPDATED 02/13/14:

  • Added links under recipe titles to credited source

Questions?  Leave a comment!

Thursday, February 6, 2014

You Braided A Taco? ...What?

Crescent Roll Dough

Pinterest:  The Salty Pineapple
Yield:  1 batch (equivalent to 1 can)
Time:  20 minutes, 2 hours

Yeast
1 tbsp (1 packet) dry active yeast
1/4 cup warm water
1 tsp sugar

3/4 cup warm milk
1/4 cup melted butter
1/4 cup sugar
1 tsp salt
1 egg
3 1/2-4 cups flour


Bloom yeast with warm water & sugar, 10 minutes.

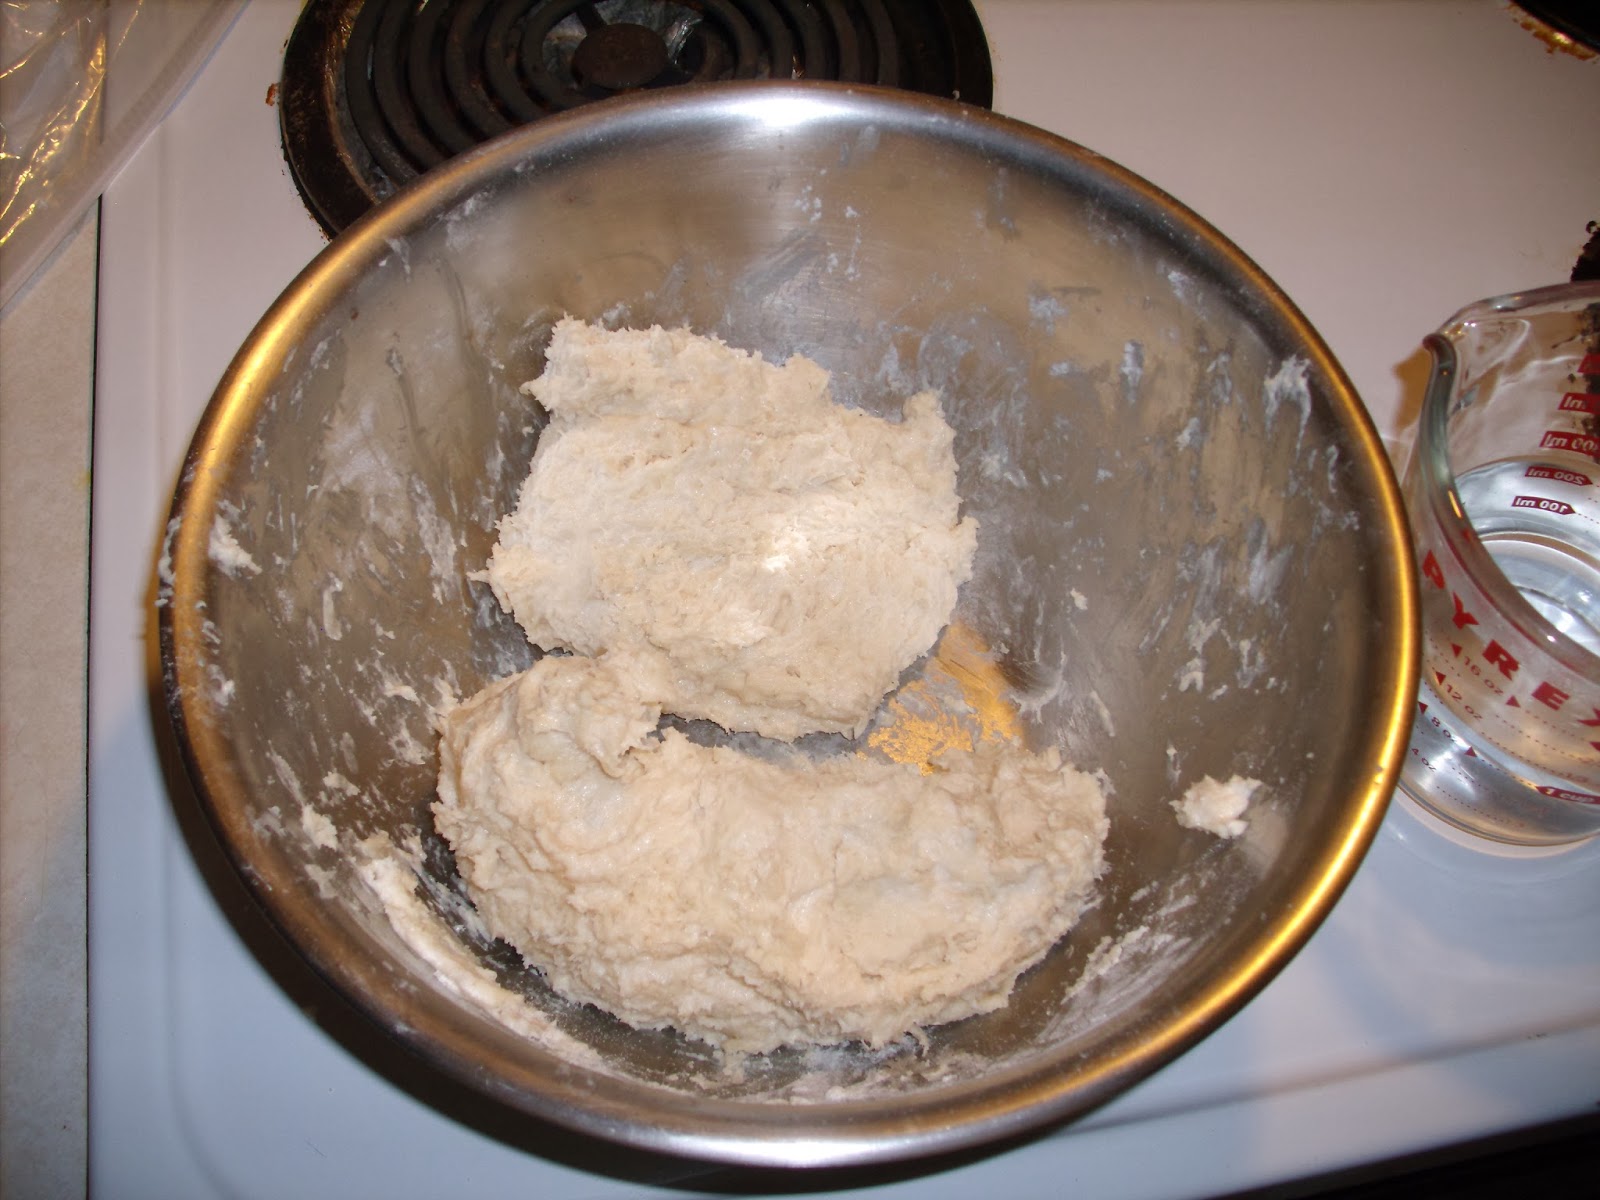
Add yeast to sugar, salt, milk, butter, & egg.  Add 2 cups of flour, beating till smooth.  Add 3rd cup of flour, mixing well.  Add remaining flour until dough is no longer sticky/pulls away from bowl.  Knead on lightly floured surface until smooth & elastic.  Place in greased bowl and cover with plastic wrap or clean towel, & let rise until doubled, 1 1/2-2 hours.  Punch down.


Taco Braid

Pinterest:  Tanya and Jessica (3 Moms and A Kitchen)
Yield: 4-6 servings
Time:  45 minutes

Seasoning Mix
Salt & pepper to taste
2 tbsp chili powder
1 tbsp paprika
1 tbsp garlic powder

1 batch crescent roll dough, rolled out to fit cookie sheet
1 lb ground beef
1 pkg taco seasoning
1/3 cup water (for taco seasoning)
1 can refried beans
1 can corn
1 cup finely shredded sharp cheddar cheese


Preheat oven to 350°.  Brown ground beef with seasoning mix over medium heat.  Drain meat.  Add taco seasoning & water.  Bring to boil & reduce to simmer for 5 minutes.  Return heat to medium and add refried beans.  Heat through.  Add corn and heat through.  Set meat mixture aside.  Line a cookie sheet with parchment paper and lay out crescent roll dough on it.  Using a pizza cutter, cut about an inch in on each side, towards the middle of the dough.  Space about half an inch in between cuts down the length of the side.  Spread meat mixture down the middle of the dough.  Top with cheese.  Fold crescent roll strips over filling.  Bake 25-30 minutes, until golden brown.


More Info

Crescent Roll Dough

Okay, very first thing?  WARM WATER.  Not hot.  If you use hot water, you're going to kill your yeast.  To check the temperature of the water, run it over the inside of your wrist; people tend to be more temperature sensitive in that area, and it very well may help prevent you from making your water too hot.
But Tee...how do we actually make crescent rolls with your crescent roll dough?
I'm glad you asked!  Here's what you do:
  1. Roll out dough into a circle, as thick or as thin as you please.
  2. Brush dough with softened butter.
  3. Using a pizza cutter...well, cut like a pizza.  anywhere from 8 to 12 slices (triangles), depending on how large you want them.
  4. Roll each slice from the widest part to the point, with the butter on the inside.
  5. Bake at 350°, 20 minutes, or until golden brown.

Taco Braid

Okay, this differs a pretty good deal from the original recipe.  Not by too much, I guess, though.  For starters, the original recipe called for a can of drained black beans, and a can of drained diced tomatoes.  I improvised with what I had, that's all.

Overall Meal


The taco braid is pretty much a complete meal...it's got starch, protein, and a vegetable (yes, corn is a starch, but it's also a veggie).  But maybe you'll want to top it with some sour cream...or salsa.  Do whatever with it, make it your own...but most importantly...enjoy it!
Oh, and sorry I don't have videos for these...I did record it, but the recording program (for some reason) decided to forget my audio input.  So you'll just have to live with the pictures.

UPDATED 02/13/14:

  • Added links under recipe titles to credited source

Questions?  Leave a comment!

Wednesday, January 29, 2014

Another Pot Pie? Ooooh, Fudge!

Hamburger Pot Pie

Personal
Yield:  1 8x8 pot pie
Time:  1 hour

1 disk pie dough
1 lb ground beef
Salt & pepper to taste
1 tbsp garlic powder
1 tsp paprika

Gravy
2 regular potatoes, cut into small cubes
1/2 cup chicken stock
1/2 cup half & half
1 1/2 cups milk
1 pkg McCormick Brown Gravy mix
1 8 oz can tomato sauce
2 celery stalks, halved lengthwise & sliced
2 carrots, peeled, halved lengthwise, & sliced
Salt & pepper to taste


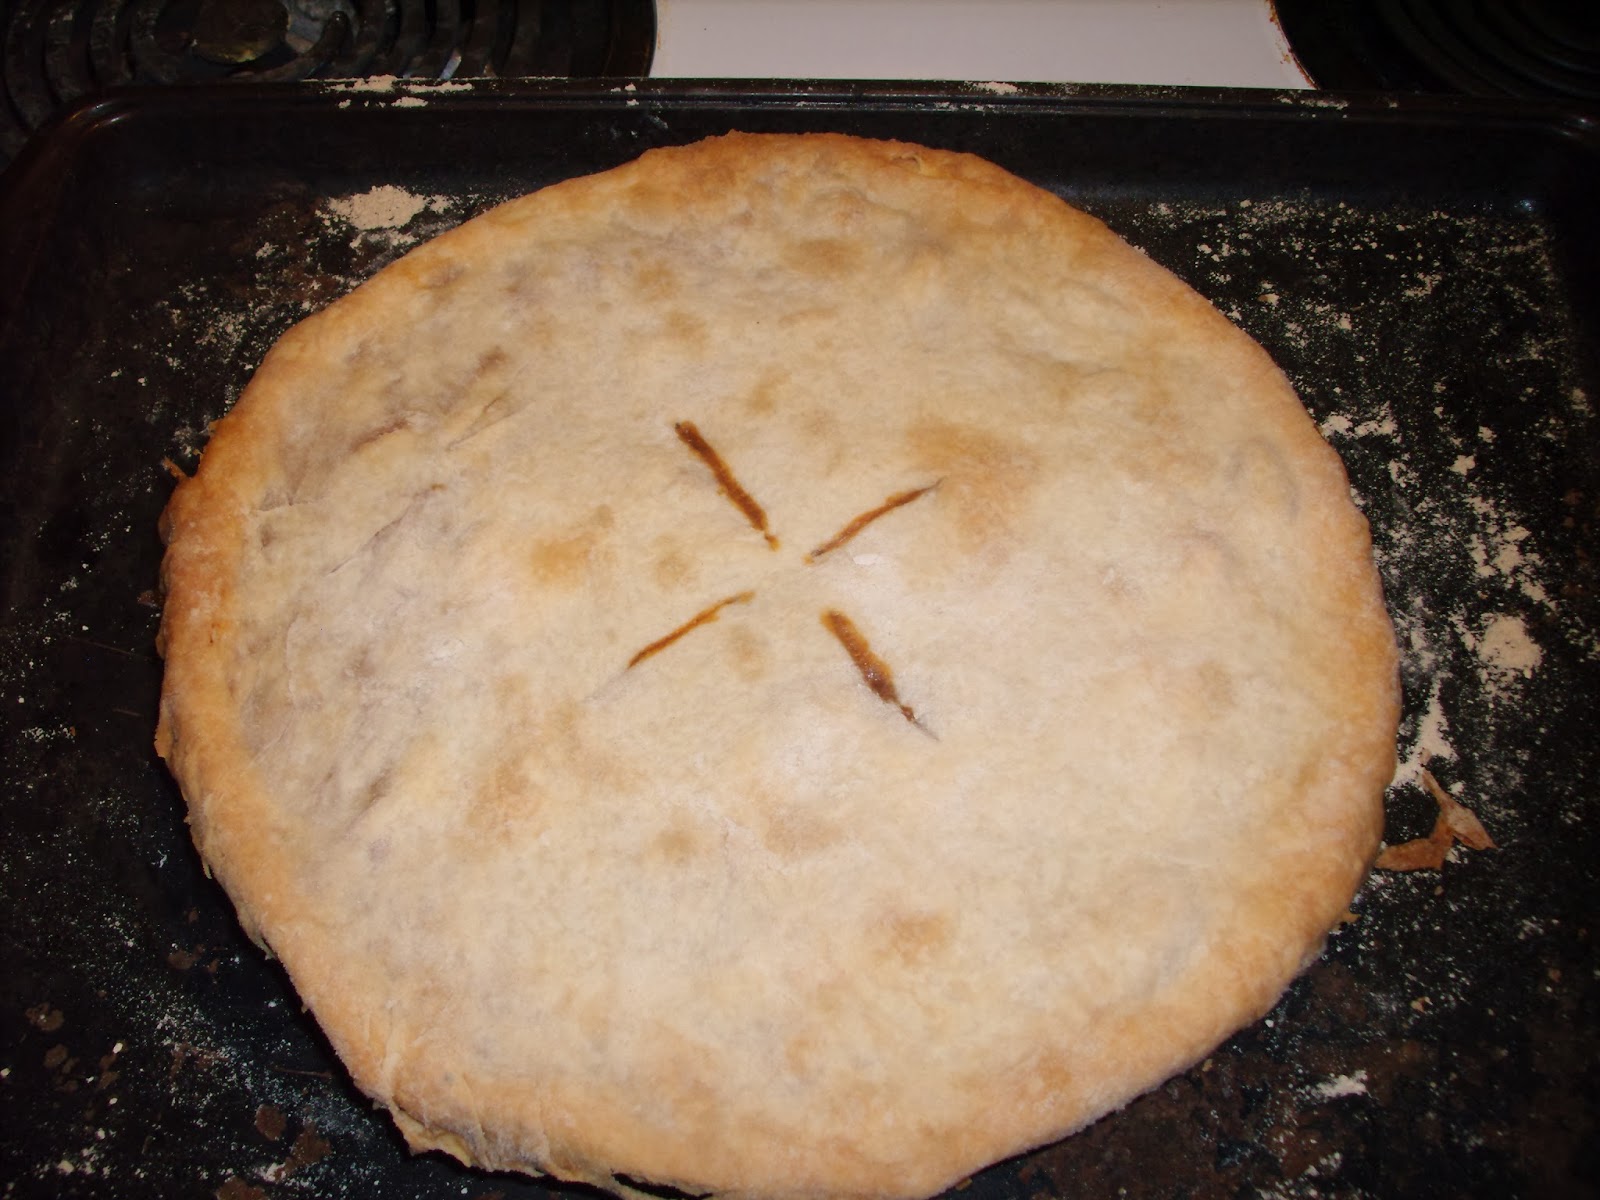
Preheat oven to 375°.  Grease & flour 8 inch cake tin.  Heat pan over medium heat; add beef & season with salt, pepper, garlic powder, & paprika.  While beef is cooking, roll out half of dough for crust; transfer dough to cake tin & trim with knife or pizza cutter.  Pierce bottom of crust several times with fork.  Line crust with aluminum foil and fill with beans.  Blind bake crust for 7 minutes.  While crust is in oven, transfer cooked ground beef to a bowl with a slotted spoon.  Add potato & cook until bottoms are brown; add chicken stock, half & half, & milk.  Let warm 1 minute & add gravy mix.  Let come to a boil; stir in tomato sauce until well incorporated.  Return to boil; add celery & carrots.  Season with salt & pepper to taste.  Roll out remainder of dough for tops crust.  Test veggies in gravy; they should be just fork tender.  When gravy is ready, pour over ground beef.  Cover with top pie crust.  Trim edges; cut slits into top of pie.  Place pie on cookie sheet & return to oven for 25 minutes.

 Flickr:  Hamburger Pot Pie


Super Easy Peanut Butter Fudge

Facebook:  Just A Pinch
Yield: 8x8 pan
Time:  10 minutes

2 cups sugar
1/2 cup milk
1 tsp vanilla extract
3/4 cup peanut butter

Butter 8x8 dish.  Prepare all your ingredients by measuring them and laying them out for immediate use.

Over medium heat, bring milk & sugar to a hard boil; stirring constantly, boil for 2 1/2 minutes.  Remove from heat.  Stir in vanilla.  Stir in peanut butter until smooth.  Pour into dish & cool.

Flickr:  Peanut Butter Fudge


More Info

Hamburger Pot Pie

This recipe is pretty straight forward.  I will say that I recommend using a pizza cutter to cut/trim your dough with, especially if you roll it out as thin as I do (which I'd say is maybe 1/8 inch thick?  Not real sure how accurate that is).

Super Easy Peanut Butter Fudge

Okay, my original blog post for this was deleted by accident.  Which is a good thing, because now I can bring you this important update about this recipe.  If you watch my video for this recipe (YouTube:  Top Of The Fridge To Ya), you'll see I use a whisk, and that my fudge starts cooling on me very quickly and that it becomes difficult to pour.  Do Not Use A Whisk!  This causes air to be incorporated into the fudge, thus cooling it more quickly.  It also changes the overall texture of the finished product!  I made a second (double) batch just last night (because it keeps going really fast around here), and I used a wooden spoon (and then the spatula to spread it out with, since I had to use the spatula to get the peanut butter out of the bowl it was in anyway) to stir the fudge with.  It came out a more smooth consistency and was more easily poured into the prepared dish.

Overall Meal

So, I don't have pretty shots of the plated food for you to enjoy (because I didn't think to take those pictures this time), and while I would like to post my videos here for these recipes, blogger, for some reason, refuses to recognize my videos from YouTube.  Anyway, if you ask me, you don't really need a side for pot pie; it's a pretty complete meal in and of itself.  And the fudge makes a good dessert/anytime treat.  If you'd like to see my demonstrations of these recipes, check out my channel on YouTube, titled Top Of The Fridge To Ya.

UPDATED 02/13/14:

  • Added links under recipe titles to credited source

Questions?  Leave a comment!

Monday, January 27, 2014

Potato Chip What? Oooh, A Poke Cake!

Potato Chip Crusted Pork Chops

Personal
Yield:  4-5 chops
Time:  35 minutes

Wash Mixture
2 tbsp apple cider vinegar
1 tsp yellow mustard
1/2 tsp honey
1/2 tsp garlic powder
Pinch paprika
Salt & pepper to taste

4-5 pork chops
2 cups crushed sour cream & onion potato chips
Vegetable oil, to coat pan
1 tbsp butter

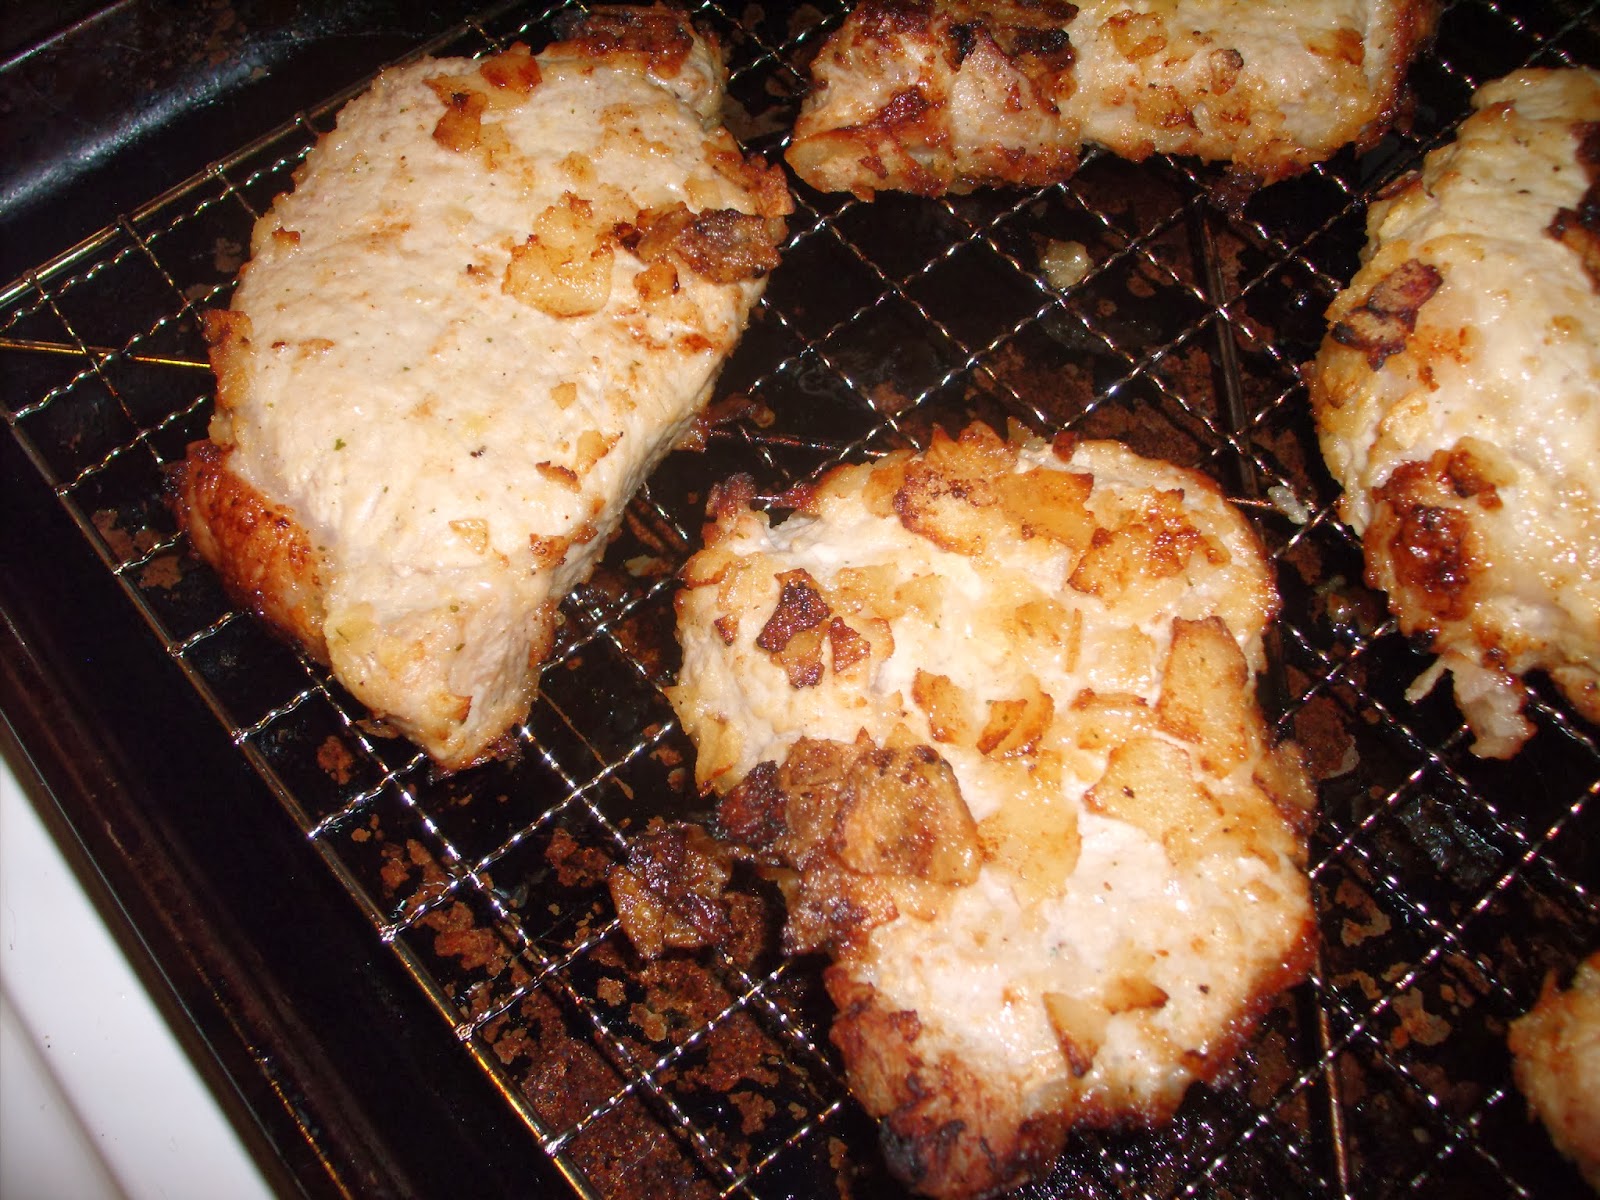
Preheat oven to 425°.  Combine ingredients for wash mixture.  Dip pork chops, both sides, into wash mixture, then coat with chips.  Over medium heat, heat oil & melt butter.  Brown pork chops in pan, about 3 minutes each side.

Transfer pork chops to a cooling rack placed on a cookie sheet.

Bake 20 minutes to cook through.
Flickr:  Potato Chip Crusted Pork Chops


Banana Pudding Poke Cake

Pinterest:  Very Yummy Dessert
Yield:  13x9 cake
Time:  45 minutes

Cake
1 box white cake mix
2 tbsp butter, melted
1 tsp vanilla

1 5.1 box instant banana cream pudding mix
3 cups cold milk (for pudding mix)
1 8 oz container whipped topping
1 box wafer cookies, crushed

Preheat oven according to cake mix directions.  Assemble cake mix according to directions, adding in butter & vanilla while it's mixing.  Bake cake.
When cake comes out, use end of wooden spoon & poke holes in cake.  Mix pudding & milk & spread over cake.  Spread whipped topping over cake & sprinkle over wafer cookie crumbs.
Flickr:  Banana Pudding Poke Cake


More Info

Potato Chip Crusted Pork Chops

Okay, I know the wash mixture sounds strange, and I'll admit, I mixed it together completely on whim.  But when I tasted it (before I put the pork chops in it, of course), it tasted amazing.  I was genuinely surprised by the taste.  And the flavor carried through to the end of the cooking process.  It made for some absolutely delicious pork!
Now, I say 2 cups of crushed chips, but honestly, I used a third of a bag that had been sitting on top of our fridge for over a month (they weren't stale, just...old).  Nobody was eating them because the brand we got was a bit bland in flavor.
Feel free, of course, to use whatever flavor of chips you want.  Cooking is all about happy experiments!

Banana Pudding Poke Cake

I would've highly preferred a butter recipe cake mix, but what we had in the cupboard was a white cake mix.  Thus the addition of the butter and vanilla.  Also, the original recipe called for a yellow cake mix (not butter recipe, but still...).  As for what my cake mix called for, it was 3 egg whites, 1/3 cup vegetable oil, and 1 1/4 cups water.  I baked it for 30 minutes, and it was done (I don't remember what temperature, but I think it may have been 375°?).
Also, my mother and I went ahead and had a piece not five minutes after the cake was done, but it's probably best to chill it for an hour or two first.  I don't know.  It was pretty good, to me.

Overall Meal


So what to serve with the pork chops?  Well, all I served with it was green beans, but I would recommend maybe a side of mac and cheese, and maybe some peas?  Yeah, that sounds good to me.  And of course, have the cake as a dessert!  Enjoy!

UPDATED 02/13/14:

  • Added links under recipe titles to credited source

Questions?  Leave a comment!

Friday, January 24, 2014

Mmm, Pot Pie!

All Butter, Really Flakey Pie Dough

Pinterest:  Tara Liptak (Smells Like Home)
Yield:  2 9-inch pie crusts
Time:  15 minutes, 2 hours

2 1/2 cups flour
1 tbsp sugar
1 tsp salt
2 sticks cold butter, grated
1/2-3/4 cups icy cold water

Mix flour, sugar, & salt.  Crumble in butter.

Mix in water, adding more as needed, until dough comes together.
Flickr:  Pie Dough

Separate in half & form into disks.  Wrap in plastic wrap & refrigerate at least 2 hours.

Pork Pies

Inspired By This Pin's Photo
Yield:  12 pies
Time:  about 1 hour

5 pork chops, cut into 1/2-1 inch cubes
Salt & pepper to taste
2 tsp garlic powder
1 1/2 tsp rosemary
1 1/2 tbsp butter
Pie dough, plus flour for rolling

Gravy
1 potato, cut into small cubes
1/2 cup chicken stock
1 cup milk
1 pkg McCormick Brown Gravy
1 8 oz can tomato sauce
1 stalk celery, halved lengthwise & sliced thinly
1 carrot, sliced thinly (halved lengthwise if necessary)
Salt & pepper to taste

Preheat oven to 375°.  Season pork.

Melt butter in pan over medium heat & add pork.  While pork is cooking, roll out dough disk to roughly 1/8 inch thickness.


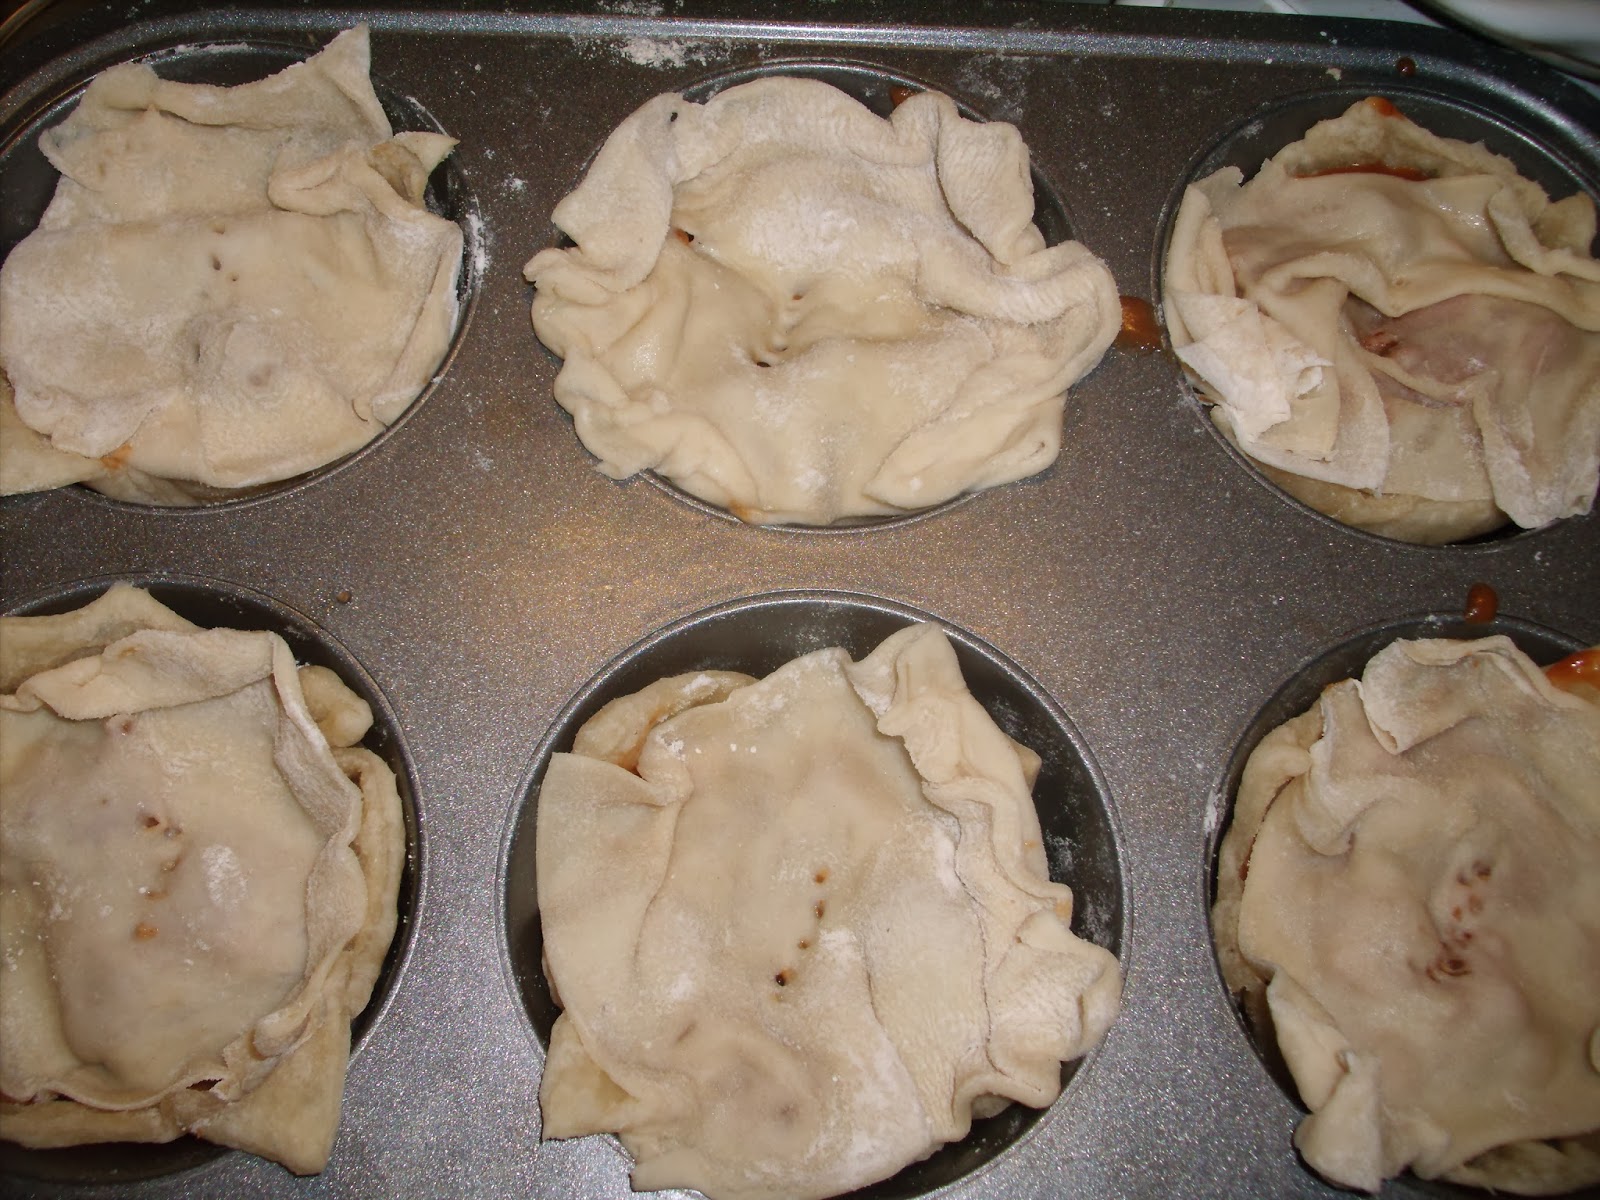
Cut into squares, roughly 3 inches.  Grease/butter jumbo muffin tin(s).  Press dough squares into the muffin tin(s), and pierce the bottoms a few times with a fork.


Bake 5 minutes.

Remove cooked pork from pan & add potato, cooking for roughly five minutes.  Add chicken stock, milk, & brown gravy mix.  Let come to a boil.  Stir in tomato sauce until well incorporated.  Let return to boil.  Add in carrot & celery and cook, stirring often until carrot & celery are just starting to become tender.

Put a single layer of pork into pie crust.

Top with a tablespoon or two of gravy.

Top with dough squares.

Pierce each pie once with a fork and bake for 20 minutes.
Flickr:  Pork Pot Pies


More Info

All Butter, Really Flakey Pie Dough

Okay, if I had my way, this would just be titled "Pie Dough."  As it stands, however, I left the title as is so it'd be easier to find on Pinterest's website.  Now, as for what differs from the original recipe...I grated the butter.  The original recipe says to cube it up, but I wanted to grate it to make it easier to incorporate it into the flour mixture.  After grating it, though, I stuck it in the freezer for about five to ten minutes while I gathered everything else together.
It's best to use your hands to mix this dough, by the way.  Just get in there and attack it!
The recipe also said this dough could be refrigerated for a week, or frozen for up to 2 months, but that it had to be refrigerated at least 2 hours before use.
Also, as a last note, handle this dough as little as possible.  The colder it is, the better.  It will help make it flakier and fluffier.  Why?  Because when the butter is hit by the heat of the oven, it will basically evaporate and make the dough puff up.

Pork Pies

Okay, this recipe is credited to Pinterest, but really...it's pretty much my own.  I was inspired by a photo on Pinterest.  Even when you go to the website for the recipe, it's only a picture, with no way to get to a recipe at all.  So this recipe basically came out of my head.
And yes, yes, I know...I cheated again, using the Brown Gravy mix.  MEH.  It worked perfectly for the gravy, and it helped thicken the gravy as well.

Overall Meal


So I served my family two of these pies each (there was enough dough and pork/gravy for a dozen, but I only made 8).  Quite frankly, it wasn't enough.  My brother can be quoted as saying "I could probably eat four or five" after I asked him how many he thought he could've eaten.  So next time I make these, I will probably be doubling my recipe (for the dough at least...I think I can stretch the pork and gravy enough to make 24...not sure yet).  However, it probably would've helped if I'd made sides...which I didn't.  Honestly, I had like four potatoes left, otherwise I would've made mashed potatoes and corn to go with it.  Yes, I know, that's a LOT of starch, but it would be filling and taste good together.  However, if that's not for you, go with broccoli for a side instead of corn.  And if you don't want mashed potatoes, double up on the broccoli and add a cheese sauce!  Easy peasy~.

UPDATED 02/13/14:

  • Added links under recipe titles for credited source


Questions?  Leave a comment!

Monday, January 20, 2014

It'sa Me! Spa'ghetti!

Incredible Baked Meatballs


Yield: 24~ meatballs
Time: 45 minutes

1 lb ground beef
2 eggs, beaten with 1/2 cup milk
1/2 grated Parmesan
1 cup breadcrumbs
1 small onion, grated
2 cloves garlic, grated
1/2 tsp oregano
Salt & pepper to taste
2 tbsp basil


Preheat oven to 350°.  Grease cookie sheet.  Combine all ingredients and form into meatballs.  Bake 30 minutes.


More Info

Incredible Baked Meatballs

Okay, the original recipe had a good few differences.  Firstly, it said to mince, not grate, the onion and the garlic.  I just felt like grating them for the heck of it.  Be warned, however, that even if your eyes don't normally water when you cut an onion, they definitely will when you grate one.  And do so carefully, as well.  If you are grating the onion at a mad pace, the onion juices will squirt into your eyes.  It did it to me, even though I wear glasses (still trying to figure out how it managed that one).
Secondly, the original recipe called for 1/4 cup fresh minced basil.  I just went with 2 tbsp of dried basil, since dried herbs are stronger than fresh herbs, and 2 tbsp is (or is about) half of 1/4 cup.
Thirdly, the original recipe didn't tell you to grease your cooking surface.  I learned this the hard way, with my meatballs sticking to my baking surfaces.
Lastly, the original recipe said you could use panko or bread crumbs.  Panko is costly, and I already had bread crumbs, so that's what I went with.
Also, the reason there are so many meatballs in my pictures is because I made a double batch.  I wasn't sure how many it was going to make, plus my brother's girlfriend was over, so I wanted to be sure we had enough.
I did make the mixture ahead of time and refrigerated it, but I wouldn't recommend refrigerating the mixture more than 24 hours (I only refrigerated mine about 4 hours).
Also, you'll notice from the pictures that I used a glass casserole dish and a cake pan instead of a cookie sheet to bake my meatballs.  It was because I was concerned about grease (I was using 75/25 ground beef).  However, there was no reason to be concerned.  Even though each dish was holding 30 meatballs, there was hardly any grease at all.  I would've been fine using a cookie sheet.
Like I said before, I used bread crumbs, and I made a double batch.  I was using plain bread crumbs because the recipe not only didn't call for Italian bread crumbs, but I was also out of them at the time.  In the future, I will probably use Italian bread crumbs just to get an extra bump of flavor.
Not only was I using plain bread crumbs, though, but I ran out of them; instead of having the two cups I needed, I only had 1 1/4 cups.  What did I do?  I didn't panic.  I first considered toasting off some bread in the oven and grating it into bread crumbs (because my food processor was lost in our last move), but I quickly brushed that off and opened a sleeve of saltine crackers and crumbled up a good bit of them in place of the remaining 3/4 cup of bread crumbs.
Let me also say, do not over mix your meatball mixture.  Mix it until it just comes together.  I know you're going to want to mix it thoroughly, to make sure everything is evenly distributed, but have faith in your mixture that it's mixed enough.  If you over mix your meatballs, they're going to be tough meatballs.
Finally, I used a small (ish) ice cream scoop and a spoon to round off my meatballs and get them into the pan.  It allowed for cleaner hands and more uniformity in my meatballs.

Overall Meal


So what goes with meatballs?  Duh~~.  Spaghetti.  So we had spaghetti and meatballs, and it was delicious.  Now I didn't serve any sides with it, but some good sides would be garlic bread (or cheesy garlic bread...yum~), and a side salad.  Or, even better?  A Caesar salad, for one thoroughly Italian meal.
And, as you all can tell, I found my old digital camera.  From now on, my posts will include pictures.  Enjoy!

UPDATED 02/13/14:

  • Added links under recipe titles to credited source

Questions?  Leave a comment!